Users
PERMISSIONS All users (only users with Full Access or Team Access privileges in File Protection Manager may make changes)
NAVIGATION Users
NAVIGATION Teams > right click team > View Team Users
This page allows you to view your list of end users and provides access to a variety of user-related functions.
TIP If you have accessed this list from the Team detail, the list will be automatically filtered by that team. To view all users, click the X icon on the filter.
The user list
The following tables define the columns available on the users list.
NOTE The default display/hidden columns depend on whether you are an unlimited partner or a metered partner.
| Column | Definition |
|---|---|
| UserID | The unique numeric ID used to identify an user. |
| Full Name | The first and last name of the user. |
| The email address of the of the user. | |
| Team Name | The name of the team (often the company name) with which the user is associated. |
| Security Level | The security level assigned to the user. Available security levels are User and Administrator. |
| Devices | The number of approved and active devices associated with the user. |
| Storage Used | The amount of storage currently being consumed by the user. |
| Backup Size | The total amount of storage required for backup, whether or not the backup is complete. |
| Login Count | The number of times the user has accessed File Protection Online. |
| Last Login | The last time the user accessed File Protection Online. |
| Date Created | The date and time the user record was create. |
| Storage Allocated | The amount of storage available to the user. |
| Storage Utilization | The percentage of the user's allocated storage that is currently being consumed. |
| Column | Definition |
|---|---|
| UserID | The unique numeric ID used to identify an user. |
| Full Name | The first and last name of the user. |
| The email address of the of the user. | |
| Team Name | The name of the team (often the company name) with which the user is associated. |
| Security Level | The security level assigned to the user. Available security levels are User and Administrator. |
| Devices | The number of approved and active devices associated with the user. |
| Storage Allocated | The amount of storage available to the user. |
| Storage Used | The amount of storage currently being consumed by the user. |
| Storage Utilization | The percentage of the user's allocated storage that is currently being consumed. |
| Backup Size | The total amount of data designated for backup, whether the backup is complete or not. |
| Login Count | The number of times the user has accessed File Protection Online. |
| Last Login | The last time the user accessed File Protection Online. |
| Date Created | The date and time the user record was create. |
How to...
Click the user you wish to view. Refer to User detail for more information.
- To filter the list, type in the filter field and press Enter, or click in the filter field and select a filter type, then select a filter value from the available options or enter a filter value. You can add as many filters as you wish.
- To remove the search filter, click the x associated with the filter.
Click the up or down arrow next to a column heading to sort items in ascending or descending order.
- Click the column chooser
 icon.
icon. - Select the check boxes corresponding to the columns you want to see.
- Clear the check boxes corresponding to the columns you do not want to see.
NOTE The display will update automatically.
Re-order columns by dragging and dropping the column header to a new location.
Right-click a user, then select one of the following options from the menu:
| Menu Option | Description |
|---|---|
| View User | Select this option to open the User detail page. |
| Edit User | Select this option to open the Edit a user page. |
| View User Devices | Select this option to open the Devices page, which will be automatically filtered to display only the devices associated with the user. |
| Manage User Devices | Select this option to open the Devices page in File Protection Online, which will be automatically filtered to display only the devices associated with the user. |
- Customize your view of this list using filters, the column chooser, drag and drop column order, and/or column sort order.
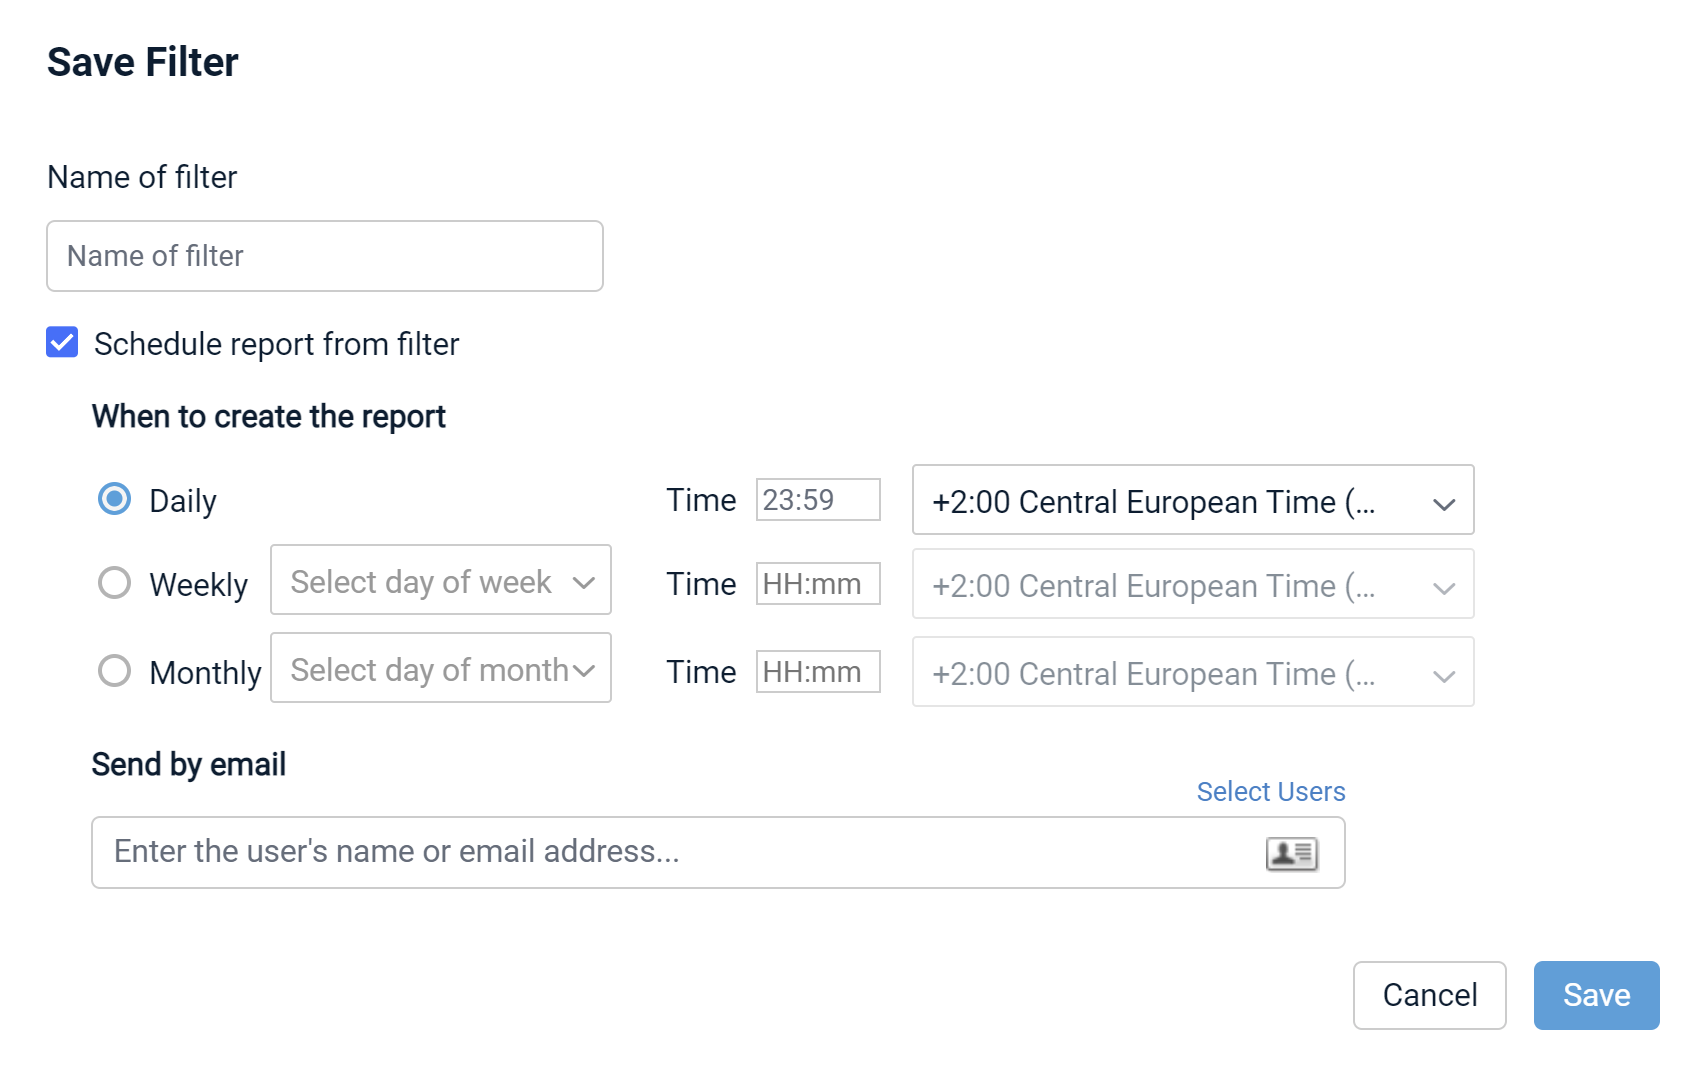
- Click the Saved Filters button and select Save current filter. This will open the Save Filter popup:

- Enter a name for your filter.
- Optionally, select the Schedule report from filter check box. If you do not wish to schedule the report, skip to step 6.

- Complete the scheduling fields as follows:
| Field | Definition |
|---|---|
| When to create the report (Daily, Weekly, Monthly) |
Select a radio button to set the report occurrence frequency. If you select Weekly, you must also select a day of the week. If you select Monthly, you must also select a day of the month. NOTE If you select a day of the month that the month does not contain (for example, a report scheduled to run on the 31st of every month will eventually run in February, which only has 28 days), the report will run on the last day of the month in that instance. |
| Time | Enter the time at which the report should be generated in HH:mm format. This field using a 24-hour clock rather than AM/PM. If you wish to schedule a report for 2:00 PM, for example, you would enter 14:00. |
| Time Zone | Select the time zone you wish to use for scheduling this report. |
| Send by email | Begin typing the name or email address of the recipient, or click the |
- Click the Save button.
- Click the Saved Filters button.
- Click the name of the saved filter you wish to open.
- Click the Saved Filters button and select the filter you want to schedule as a report.
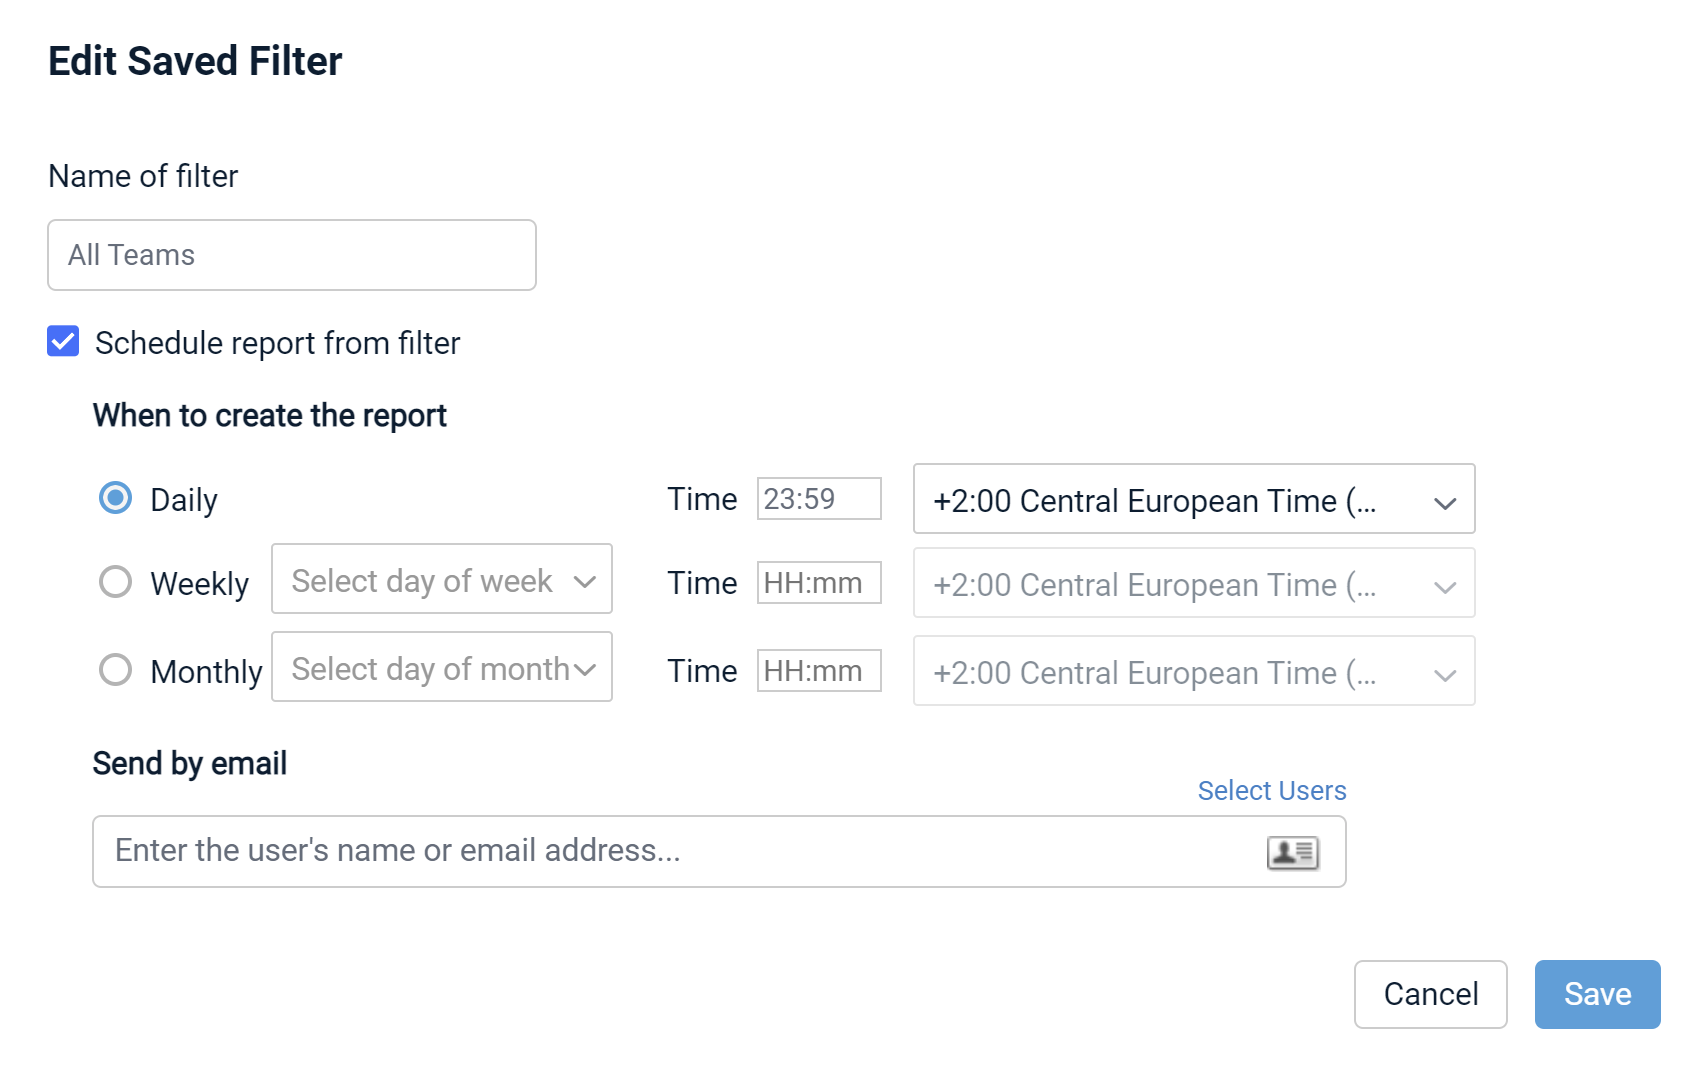
- Click the pencil icon
 in the upper right corner.
 - Select the Schedule report from filtercheck box.

- Complete the scheduling fields as follows:
| Field | Definition |
|---|---|
| When to create the report (Daily, Weekly, Monthly) |
Select a radio button to set the report occurrence frequency. If you select Weekly, you must also select a day of the week. If you select Monthly, you must also select a day of the month. |
| Time | Enter the time at which the report should be generated in HH:mm format. This field using a 24-hour clock rather than AM/PM. If you wish to schedule a report for 2:00 PM, for example, you would enter 14:00. |
| Time Zone | Select the time zone you wish to use for scheduling this report. |
| Send by email | Begin typing the name or email address of the recipient, or click the |
- Click the Save button.
- Click the Saved Filters button and select the report you want to schedule.
- Click the pencil icon
 in the upper right corner.
 - Modify the schedule as needed.
- Click the Save button.
- Click the Saved Filters button and select the filter you want to schedule as a report.
- Click the trash icon
 in the upper right corner of the report.
 - Click the Delete button in the confirmation popup.


