PERMISSIONS All users, but some functions are limited to Administrators
NAVIGATION
NAVIGATION File Protection Manager > User Detail > Manage User Devices
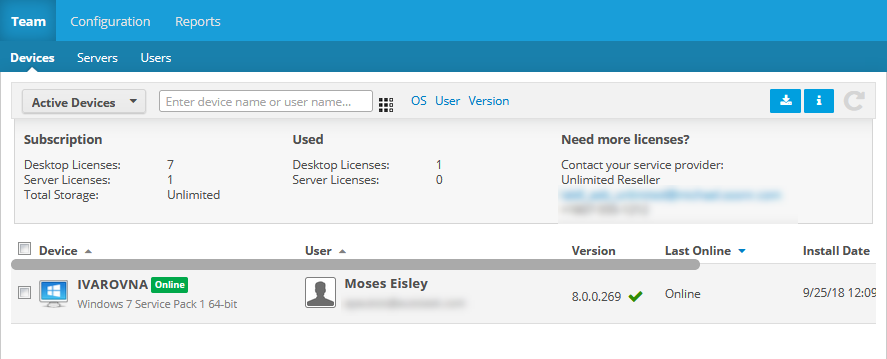
In File Protection, a "device" is a computing device (desktop or laptop) that is running File Protection Desktop. Users will be able to see their own devices on this page. If you are an Administrator, the Devices tab displays all the user devices that have File Protection Desktop installed and have been approved.
NOTE If you have accessed this page from the Manager User Detail page, you will only see devices associated with that user.
PERMISSIONS
The device list displays the following columns:
| Column | Definition |
|---|---|
| Device | The device name, online status, operating system, and the version number of the Agent installed on the machine. |
| User (Administrators only) |
The name and email address of the user associated with the device. |
| Device ID | The unique identifier for the device. |
| Version |
The version number of the agent installed on the device, and a green check mark if the agent version is currently supported, an i if an update is available or a red X if the version is out of date. |
| Backup Status | Indicates the current state of backup for the device, with specific backup information when available. Backup status values are: Complete, In Progress, Failed, or Not Enabled. |
| Backup Usage | The amount of storage currently consumed by backups for the device and the folder count. |
| Recent Backups |
A visual indicator of backup success over the last seven days. The column content is comprised of seven icons; each icon represents the backup success for the period from 00:00-24:00 for each day for the previous week. The first icon is the newest (yesterday) and last one is the oldest (yesterday - 7 days). |
| Last Online | The last date and time at which the device was connected to the service or, if the device is currently connected, the word Online. |
| Install Date | The date and time at which the agent was installed on the device. |
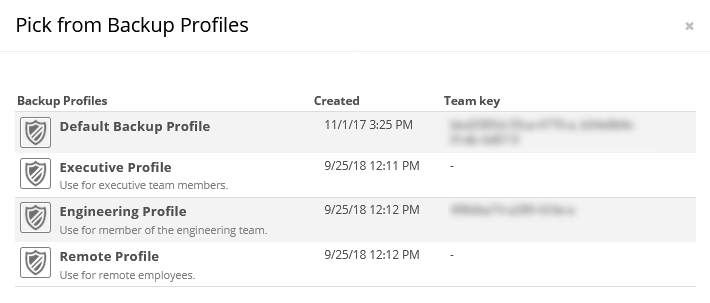
| Backup Profile | The backup profile assigned to the device. To learn more, refer to Backup Profiles. |
Depending on the current status of a device and your security level, different options will be available on the right-click (context) menu:
| Device Status | Enable | Recycle | Delete | Rename* | Change Backup Profile | View Backup Profile |
|---|---|---|---|---|---|---|
| Active |

|

|

|

|
||
| Disabled |

|

|

|

|

|
|
| Recycled |

|

|

|
|||
| *Device owners only | ||||||
TIP For more information about a device, to check its backup status, or to restore the device from a backup, click the device to display the Device Detail page.
How to...
Click the up or down arrow next to a column heading to sort items in ascending or descending order.
- Enter the full or partial name of the device or the user in the Filter field. The list will be updated automatically.
TIP To remove a filter, click the  icon in the Filter field or next to the filter name.
- To filter the device list by one of several criteria, make a selection from the dropdown to the left of the filter field. The options are Active, Pending, Disabled, and Recycled.
- To further filter the list, click the Device, OS, User, or Version link at the top of the list and enter or select a value.
Use the check boxes on the left side of the device list to select more than one device.
IMPORTANT Disabled devices will not be able to connect to the service until enabled again.
TIP If you disable a device, it still consumes a license and backups for disabled devices still count against storage allocation for metered plans.
To free up storage space from a disabled device, you must Recycle a device.
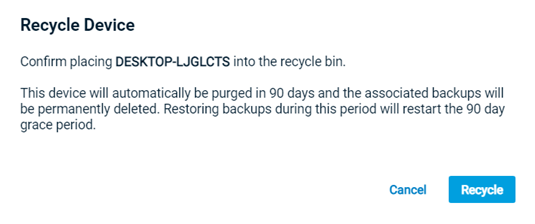
NOTE Files associated with a recycled device will be deleted after 90 days. You can restore any necessary files during this period. If you execute a restore at any time during the 90 day period, the clock starts again.
TIP Recycling a device will release the storage previously consumed by the device, as well as its license.
- Click the filter in the upper left corner of the list.
- Select Disabled Devices or Recycled Devices.
- Hover over the device and click the
 icon, or right-click the device.
 - Select Enable from the menu.
IMPORTANT Device deletion cannot be undone. Please be certain that you want to delete a device before proceeding.
- Click the filter in the upper left corner of the list.
- Select Recycled Devices.
- Hover over the device and click the
 icon, or right-click the device.
 - Select Delete from the menu.
- Click Remove.
IMPORTANT Device deletion cannot be undone. Please be certain that you want to delete a device before proceeding.
- Click the filter in the upper left corner of the list.
- Select Recycled Devices.
- Hover over the device and click the
 icon, or right-click the device.
 - Select Delete from the menu.
- Hover over the device and click the
 icon, or right-click the device.
 - Select View Backup Profile from the menu. This will open the Backup Profile Detail page.

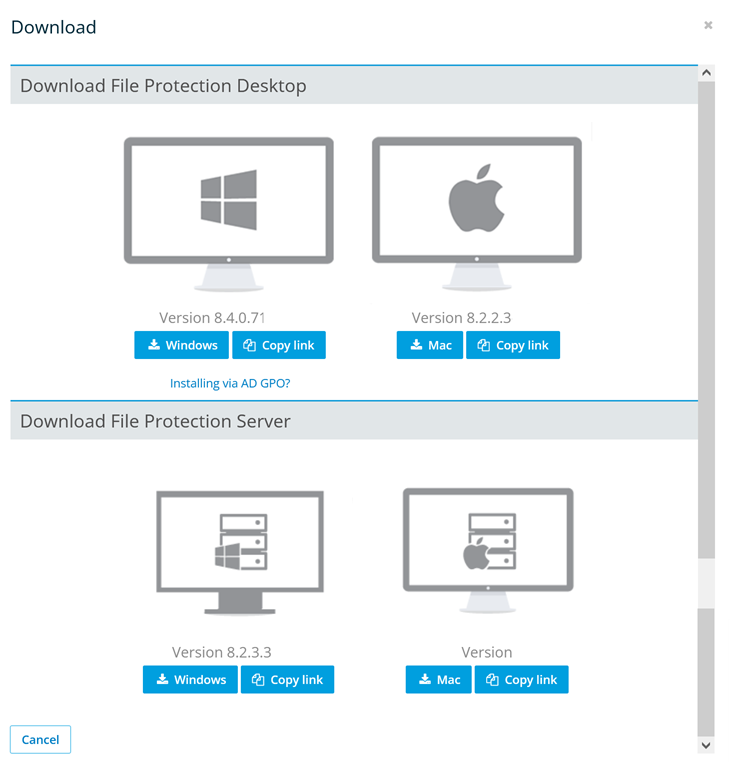
 button at the top right of the list to open the following popup:


