Users
PERMISSIONS Administrators
NAVIGATION Team > Users
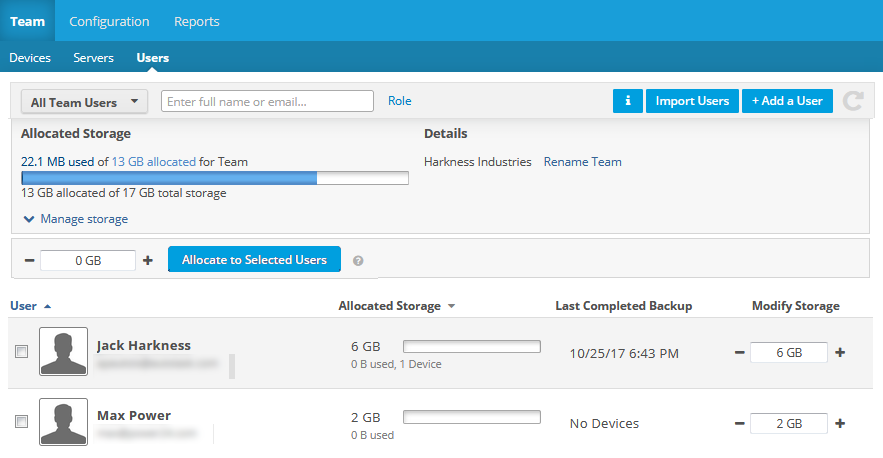
This page lists all users on an end user team. You can search for users on the team, add new ones individually or import them from a csv file, and edit, email, disable/enable, or delete users.
The user list
The user list provides the following information:
How to...
Click the up or down arrow next to a column heading to sort items in ascending or descending order.
- Enter the full or partial email address or name of the user in the Filter field. The list will be updated automatically.
TIP To remove the search criteria, click the  icon in the Filter field.
- To filter the device list by one of several criteria, make a selection from the dropdown to the left of the filter field. The options are All Team Users, Recently Active Team Users, or Disabled Team Users.
- To further filter the list, click the Role link at the top of the list and select a value.
Use the check boxes on the left side of the device list to select more than one device.
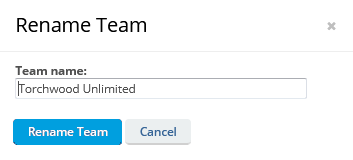
Click the ![]() icon. This will expand the top portion of the screen to display additional information and links to more team management options, such as Rename the team, Users, and (for metered plans) Manage storage (metered plans only).
icon. This will expand the top portion of the screen to display additional information and links to more team management options, such as Rename the team, Users, and (for metered plans) Manage storage (metered plans only).
NOTE The bar at the bottom of the page displays the amount of storage allocated and the total amount available.
- Adjust storage values as follows:
- To adjust the storage allocation for an individual user, either enter the new storage amount in the Modify Storage column field, or use the +/- icons to adjust the storage amount.
- To adjust the storage allocated for more than one user, select the check boxes associated with the users, enter or adjust the storage amount in the field at the top of the list, and click the Allocate to selected Users button.
- Click Update.
- Click the + Add a User button.
- Complete the fields on the New User page.
NOTE For detailed information for the fields on the New User page, refer to Add a new user.
- Click Create User.
- Click the Import Users button.
- Complete the import process on the Import new Users from a CSV file page.
NOTE For detailed information on the import process and CSV file preparation, refer to Import users.
Hover over the user record and click the ![]() icon, or right-click the user record and select one of the following options:
icon, or right-click the user record and select one of the following options:
| Menu Item | Definition |
|---|---|
| Edit | Select this option to go to the Edit a user page, where you can update user information. |
| Select this option to open a new email message with the user's email address automatically populated in the To: field. | |
| Disable |
If a user is currently enabled, Disable will be displayed. If a user is currently disabled, Enable will be displayed. Select Disable to suspend backups and prevent a user from accessing File Protection Online. Then click Disable in the confirmation popup. Select Enable to resume backups and allow a user to access File Protection Online. Then click Enable in the confirmation popup. |
| Resend Welcome Email | Select this option to resend the welcome email to the user. This will open the following popup: Click Resend. |
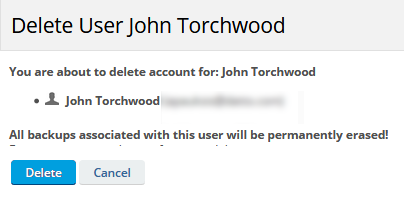
| Delete |
Select this option to delete the user. This will open the Delete User window: Click Delete to confirm the deletion. |


